To reverse a video, you need a tool that writes the frames into a new file in backward order, so the last moment plays first. The quickest free way is a browser tool: ChatCut’s reverse video tool does it on your own device, with no upload or sign-up, and gives you a silent MP4 in a few seconds. On a Mac, iMovie has a Reverse checkbox; on a phone, CapCut is the usual free choice; and FFmpeg does it in one command on any system.
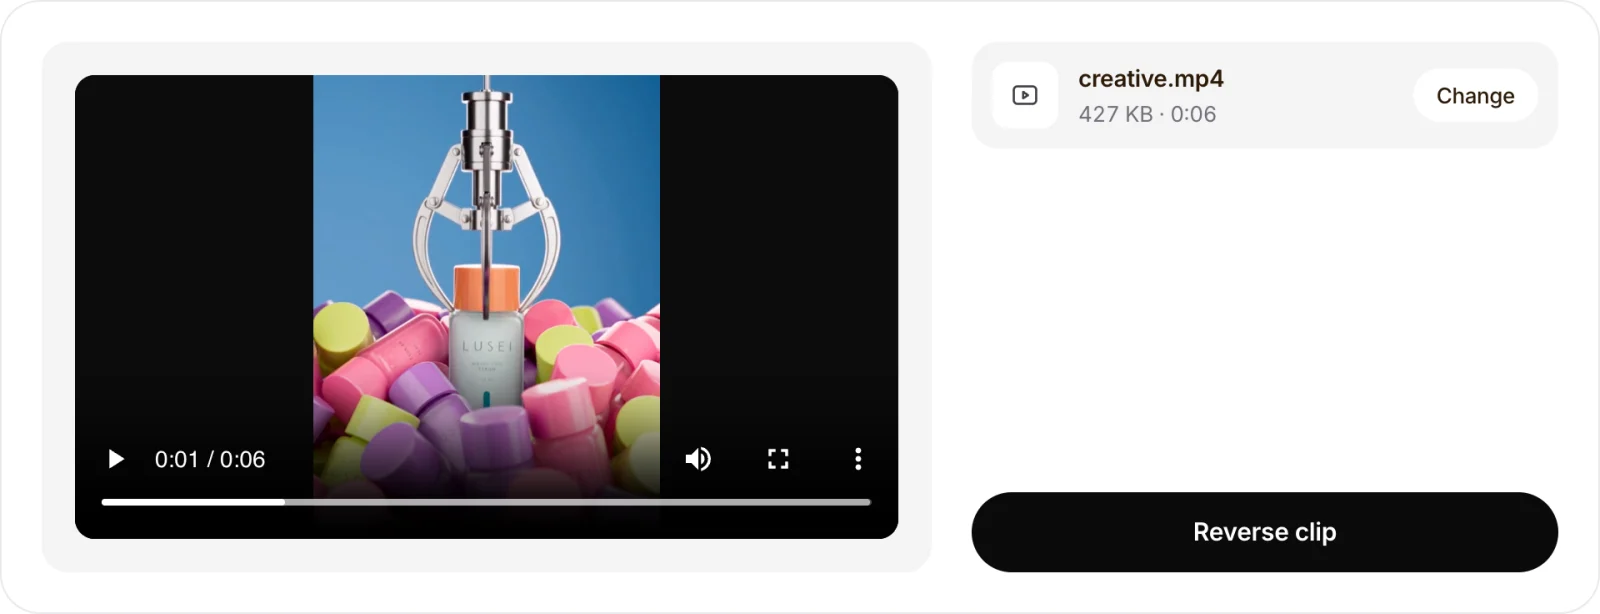
We ran the methods below on the same clip: a 6-second, 427 KB product shot (540 × 720) where a claw lifts a bottle out of a pile of caps and the bottle floats down onto a stand. Reversed, the bottle rises off the stand and drops back into the pile. The numbers in this guide come from that clip, checked on November 18, 2026.
Key takeaways
- Fastest, any computer: a browser tool. Our 6-second clip was reversed in about 1.3 seconds.
- Reversing keeps the length. The result runs at the original pace; change the speed as a separate step.
- Decide what happens to the sound. Reversed speech sounds like gibberish. ChatCut’s tool removes audio; FFmpeg can reverse it (
areverse) or drop it. - Trim before you reverse. Reversing has to hold frames in memory. FFmpeg peaked at 2.2 GB of RAM on a 15-second 1080p clip.
- Mac: iMovie → Speed → Reverse. VLC can’t do it: it plays and converts, but has no reverse option.
Pick a method
| Method | Works on | Audio | What we measured |
|---|---|---|---|
| ChatCut reverse video | Any browser with video encoding (Chrome, Edge, Safari) | Removed | 6 s clip in 1.3 s; 15 s 1080p clip in 4.4 s |
| iMovie | Mac | Stays on the timeline; mute or replace it | Not measured |
| CapCut | iPhone, Android, desktop | Stays on the timeline; mute or replace it | Not measured |
| DaVinci Resolve | Mac, Windows, Linux | Stays on the timeline; mute or replace it | Not measured |
| FFmpeg | Any system, command line | Reverse it or drop it | 6 s clip in 0.3 s, about 330 MB RAM |
Method 1: Reverse a video in your browser (any computer)
This is the route when you don’t want to install an editor or upload your footage. ChatCut’s free reverse video tool decodes the clip in small batches and encodes the frames backward inside the browser tab. There are no settings to get wrong.
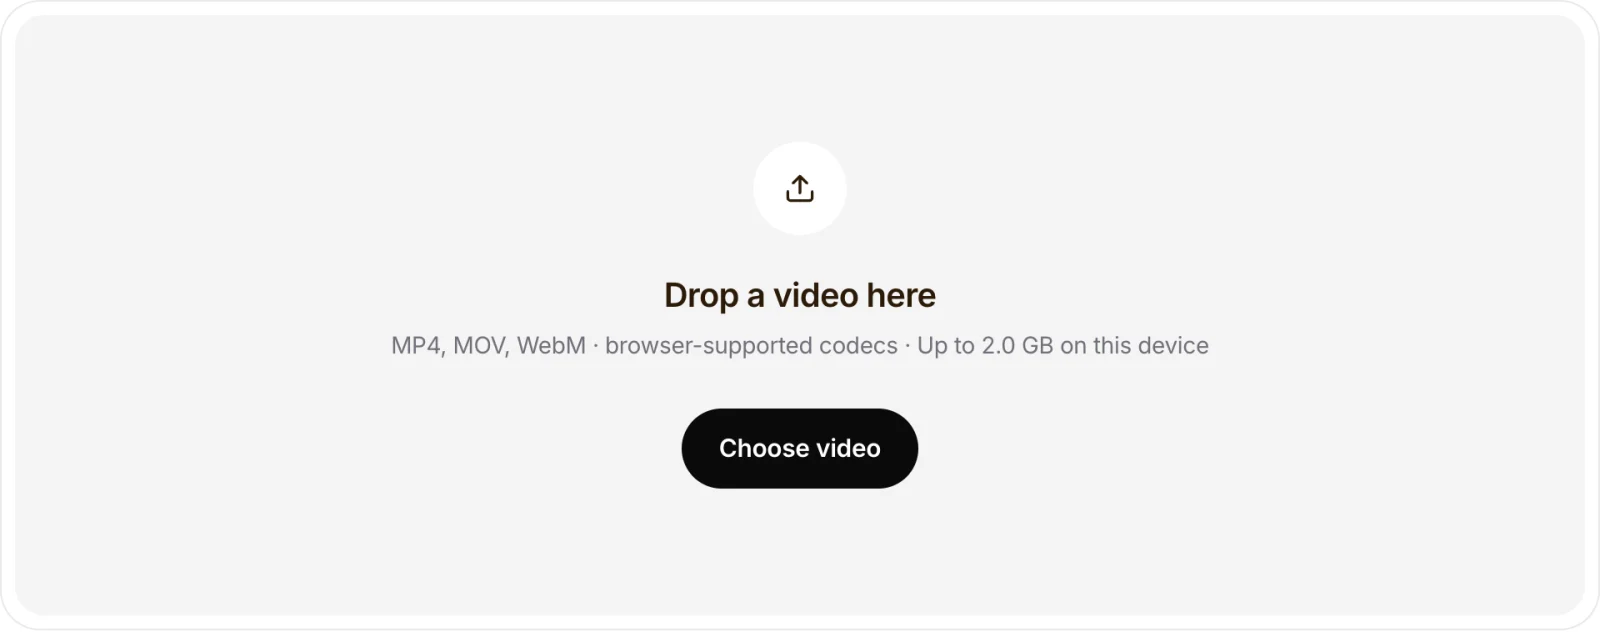
- Choose a short clip. Open the reverse video tool and drop in an MP4, MOV or WebM. It accepts clips up to 60 seconds, 512 MB and 1920 × 1080 (or 1080 × 1920 for vertical video).
- Check the clip and press Reverse clip. The preview shows the original. Our clip opens with the claw lifting the bottle out of the pile.
- Preview and download. Play the result to check that the motion runs the way you want, then download the MP4.
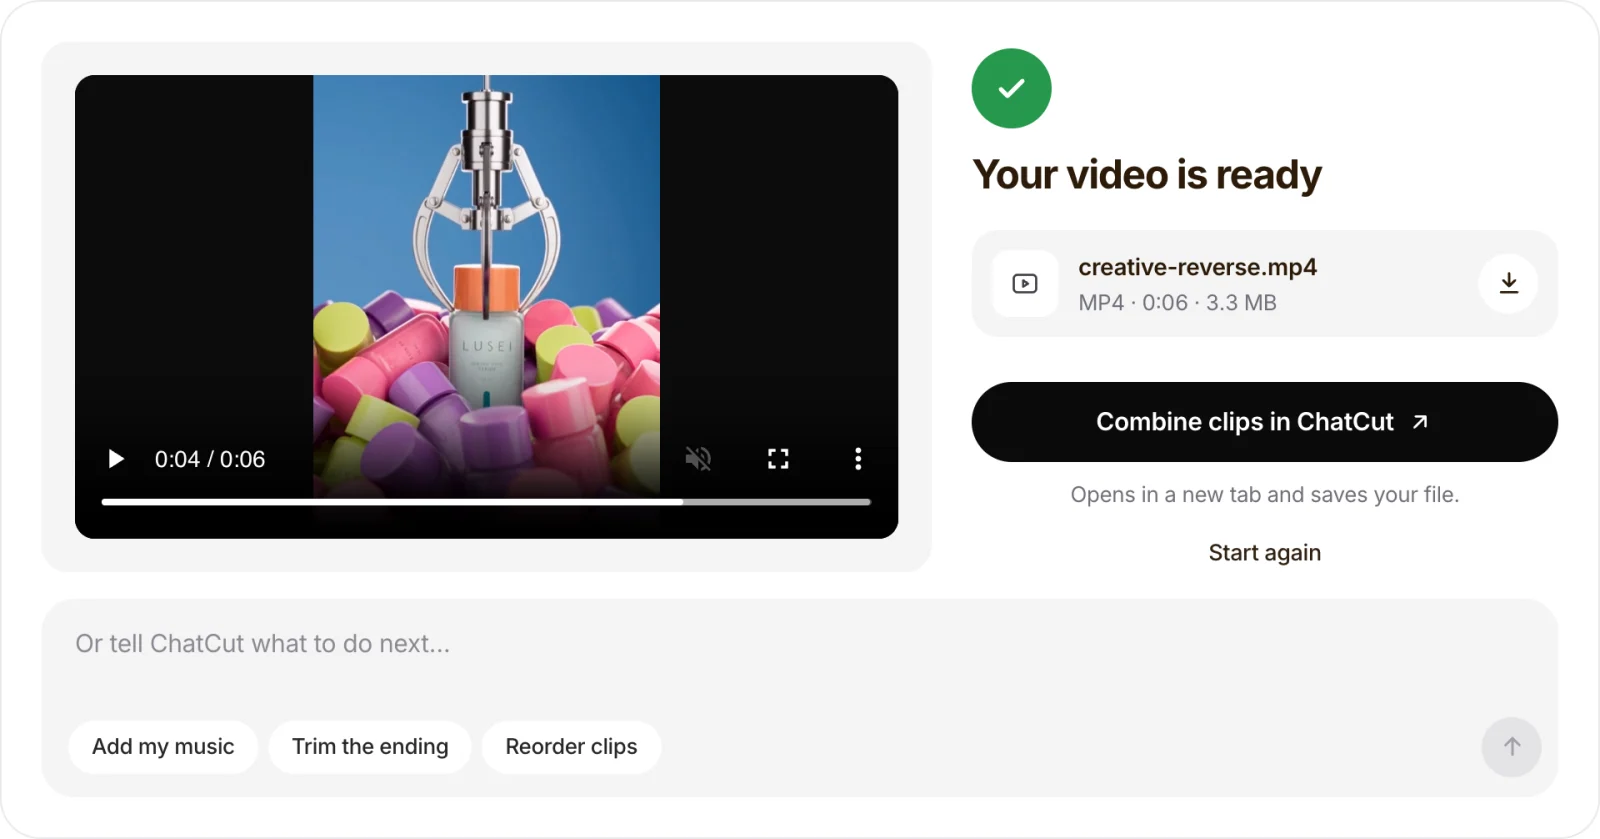
The output was bigger than the input: 3.3 MB from a 427 KB file. The tool encodes H.264 at a fixed, fairly high bitrate (about 4.5 Mbps in our file), which keeps detail but doesn’t match the source’s compression. A 15-second 1080p clip (8.4 MB) came out at 7.9 MB, so the gap is largest for small, heavily compressed sources. If size matters, run the result through a video compressor.
A file over the limits is refused before any work starts. A 66-second clip got the message “Choose video totaling 60 seconds or less,” so trim longer recordings first with the video trimmer.
Method 2: iMovie on a Mac (free)
iMovie’s reverse option sits in its speed controls. From Apple’s iMovie guide:
- Add the clip to your timeline and select it.
- Click the Speed button above the viewer to show the speed controls.
- Select the Reverse checkbox. A reverse icon appears on the clip, and it plays backward at the speed you set.
- Export with File → Share → File.
Don’t confuse it with Modify → Rewind, which plays a section forward, backward, then forward again and makes the clip longer. Apple’s iPhone and iPad version of iMovie doesn’t document a reverse option, so on a phone use CapCut or the browser tool.
Method 3: CapCut on a phone or computer
CapCut is free on iPhone, Android, Mac and Windows and has a built-in reverse:
- Start a project and add your clip.
- Tap or click the clip on the timeline to select it.
- Choose Reverse. On the phone app it’s in the toolbar under the timeline; on desktop it’s above the timeline or in the right-click menu, depending on the version.
- Wait for the reversed copy to render, then export.
The button moves between versions. If you can’t find it, check the Speed panel and the clip’s right-click menu. Nothing happens unless a clip is selected first.
Method 4: DaVinci Resolve (free, Mac, Windows, Linux)
The free version of DaVinci Resolve reverses clips without a watermark. Right-click the clip on the timeline, choose Change Clip Speed, tick Reverse Speed, and click Change. The clip keeps its length at 100% speed; type a different percentage in the same dialog for a slow or fast reverse. Resolve is a full editor, so it’s heavier to install than you need for a single reversed shot.
Method 5: FFmpeg (one command, any system)
FFmpeg reverses video with the reverse filter and audio with areverse. These are the exact commands we ran on our test clip with FFmpeg 8.1:
# Reverse picture and sound: 493 KB, 6.0 s, about 330 MB of RAM
ffmpeg -i input.mp4 -vf reverse -af areverse output.mp4

# Reverse the picture and drop the sound: 393 KB
ffmpeg -i input.mp4 -vf reverse -an output.mp4

# Reverse only the first 3 seconds: 254 KB, 3.0 s
ffmpeg -i input.mp4 -vf "trim=end=3,reverse" -an first3-reversed.mp4

# Forward then backward in one file (a "boomerang"): 731 KB, 12.1 s
ffmpeg -i input.mp4 -filter_complex "[0:v]split[a][b];[b]reverse[r];[a][r]concat=n=2:v=1:a=0[v]" -map "[v]" boomerang.mp4
The catch is memory. FFmpeg’s documentation warns that the filter “requires memory to buffer the entire clip,” because it has to read the last frame before it can write the first. Our 6-second, 540 × 720 clip peaked at about 330 MB of RAM. A 15-second 1080p clip peaked at 2.2 GB. For anything longer than a minute or so, cut out the part you need first with -ss and -t (or the trim filter, as above) instead of reversing the whole file.
Check before you share it
These are the problems we ran into, and how to fix them:
- The reversed half is silent. ChatCut’s tool removes audio. When we joined the original and the reversed clip with merge videos, the 12-second result had sound for 6 seconds and then went quiet. Remove the sound from the original first with remove audio from video, or add one music track over the whole thing afterward.
- Reversed speech sounds wrong. Played backward, voices turn into nonsense. Drop the audio (
-anin FFmpeg) and add music or a voiceover instead. - “Choose video totaling 60 seconds or less.” The browser tool caps clips at 60 seconds. Trim first.
- The video won’t open in the browser. Browser tools depend on the codecs your browser supports, and reversing also needs video encoding. Use a recent Chrome, Edge or Safari, or convert the clip to H.264 MP4. Very high frame rates can hit the tool’s memory check; a lower-resolution copy helps.
- The effect is hard to see. Reversing changes the order of events, not left and right. A static shot or slow pan looks almost the same backward. Pick footage with obvious motion: something falling, pouring, being picked up or thrown.
- FFmpeg runs out of memory or crashes. It’s buffering the whole clip. Trim to the seconds you need before the
reversefilter.
What to do with the reversed clip next
- Make a back-and-forth loop. Join the original and the reversed clip with merge videos, then repeat the pair with loop video for a longer boomerang.
- Slow it down for a dramatic reveal. Reversing keeps the original pace; the video speed changer sets 0.25× to 4×; our guide to speeding up or slowing down a video covers when slow motion looks smooth.
- Put it in a full edit. Add the reversed MP4 to a ChatCut project to combine it with forward footage, trim the ending or put your own music under it.